How To Stretch A Canvas Print (Step-By-Step Guide)
Feb 22, 2019

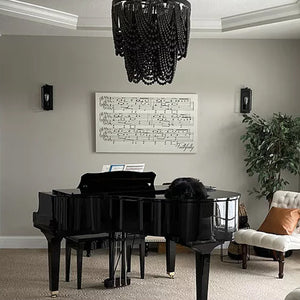
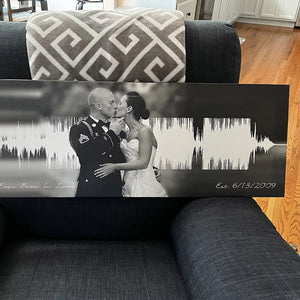
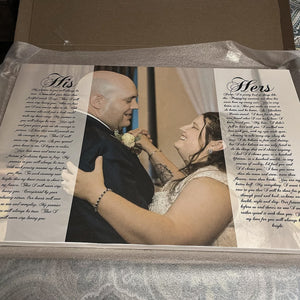
Large canvas art prints are an incredibly popular feature of modern home decor. After a wonderful life event, like a gorgeous vacation, a wedding, or a fancy birthday party, you want to keep those wonderful memories close to you. A great way to do that is with a canvas print to hang in your home. Whether you want to try DIY canvas prints or you’re just curious about the process, the following step-by-step guide will tell you everything you need to know about how to stretch a canvas print. To learn what is canvas print and how they are made, check out our guide for How Canvas Prints Are Made.
What Are Gallery-Wrapped Edges?

First thing’s first: before you can stretch your canvas prints, determine if you want gallery-wrapped edges or the image aligned with the edge of the frame. The general rule is that if the art on the canvas material goes past the edge of the wooden frame, you will have to do what is called a “gallery-wrapped” edge, in which the image is wrapped around the sides of the stretcher frame. However, if you have at least 2.5 inches of blank canvas surrounding the artwork on all sides, you can choose whether you want the image to go to the edges of the frame or be gallery wrapped.

Materials For Stretched Canvas Prints

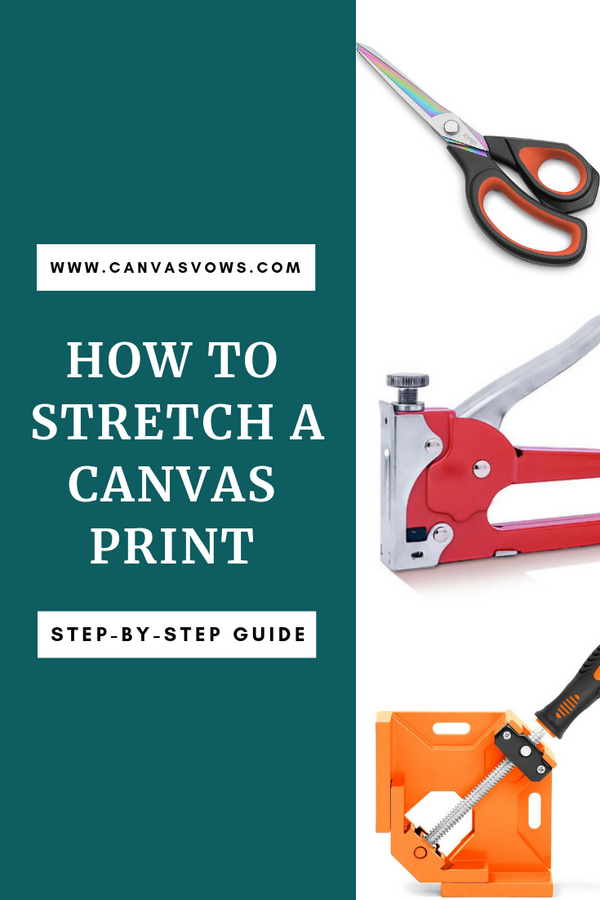
Getting all the right materials for your stretched canvas print is the number one thing you need to complete the job. In addition to all the basic materials (listed below), you might also want to consider getting a spray bottle filled with plain water, Gesso, and speciality pliers. The spray bottle with water is used to dampen the back of the canvas; as the canvas dries, it will shrink and tighten the canvas around the wooden frame. Gesso is a primer that is used to treat the canvas after stretching. (Note: Gesso is only used on a canvas that is being prepped for paint. If you are stretching a canvas print or a photo on canvas, you do not need and should not use Gesso.) It is a mixture of white paint, gypsum, chalk and other ingredients, usually found at art supply stores. The specialty pliers are used for canvas stretching: the flat surfaces of the pliers can be used to easily stretch canvas without pulling holes in the canvas material.
You will need:
How to Stretch a Canvas Print
Step 1: Measure the frame
Make sure your wooden frame is at the perfect right angle. You can do this with your measuring tape: measure the diagonals of your wooden frame and they should be equal in length.
Step 2: Measure & cut your canvas
The canvas should be cut several inches wider than the dimensions of the stretcher bars (or wooden frame), taking into account the width of the bars as well. You will need the extra inches of canvas to have something to grip and pull around the edges of the frame when you stretch the canvas.
Turn your wooden frame facing downwards onto the piece of canvas fabric. Using an X-acto knife or scissors, cut the canvas to the shape you want. The margin will depend on the stretcher sections (or, the width of the frame): if the stretcher section is small, the margin should be two inches from the stretcher. If the margin is large, the length of the margin should be three inches.
Step 3: Position frame & canvas
Center the frame on the canvas by laying the canvas flat on the work surface and centering the frame, upside down, on top of it. Before you get started, take a minute to smooth out the canvas so that there are no wrinkles. Make sure that the grain of the canvas is lined up straight with the stretcher bars on the frame. If they are not lined up straight, the bars will twist and the two opposite corners will lift upwards.
Step 4: Stretch longest sides first
Start with the longest side of the canvas that is closest to you and fold it over the stretcher bars. Wrap the canvas all the way around the bar and place three staples with your staple gun in the center of that side of the frame. The corners should still be loose right now: you will tighten those up later.
Move around the workspace to the opposite side, and do the same thing to this side of the canvas. Pull the canvas tight, fold it over the frame, and insert three staples into the stretcher bar on this side. You always want to secure the canvas in the center first, then move outwards to the corners. Never start by inserting staples into the corners of the canvas, else the canvas material will begin to pooch in the center and it will have wrinkles and lines in the front.
Step 5: Wet the canvas, if necessary
If the canvas is ungessoed, it is common to wet the canvas material with water in a spray bottle first. When you gently dampen the canvas with water, the canvas material will tighten as it dries. After you’ve fixed the long sides to the canvas, mist the canvas gently to create shrinkage as you work.
Step 6: Stretch shorter sides
Go to one of the unstapled sides and pull the canvas tightly around the bar. Fold the canvas over taughtly, place two staples in the center, attaching the canvas to the frame. Do the same thing to the opposite side.
Step 7: Stretch & fold the corners

Now it’s time to fold the corners: starting from one corner, make a triangle with the canvas material in one corner, folding it inward. Pull the canvas material downward and staple in the corner. Go back to the first side you stretched and stapled, and work from the center staples out to each corner. Pull a piece of loose canvas, stretch it down, and insert a staple. Go slowly continuing with this process as you make your way around the frame. Tuck one side of the corner under the other, pulling tight so that one edge is even with the corner. Pull the corners tightly: this is the final tightening, so be firm and even.
Step 8: Finish stapling & check tightness
Go around the canvas and pound all the staples in with a hammer to make sure that everything is flush with the frame. You definitely don’t want rough edges or staples that are poking out, so take a minute to check for these issues. If you notice an area that could use more staples, put in staples in that area. Once you’ve finished stapling, flip your canvas over and tap it with your finger. It should sound like a drum and feel very taught. If there is any creasing or strange pulling, you will be able to sit it from the front. Check the tightness of your corners and let the canvas rest. After you’ve stretched your canvas, it is important to let it rest.